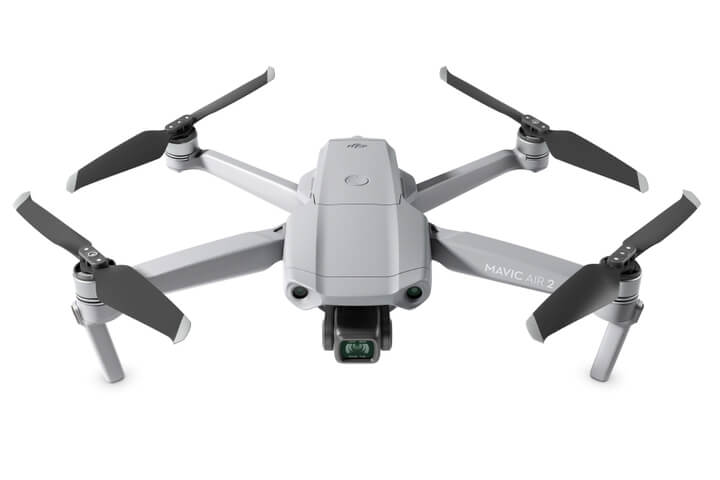
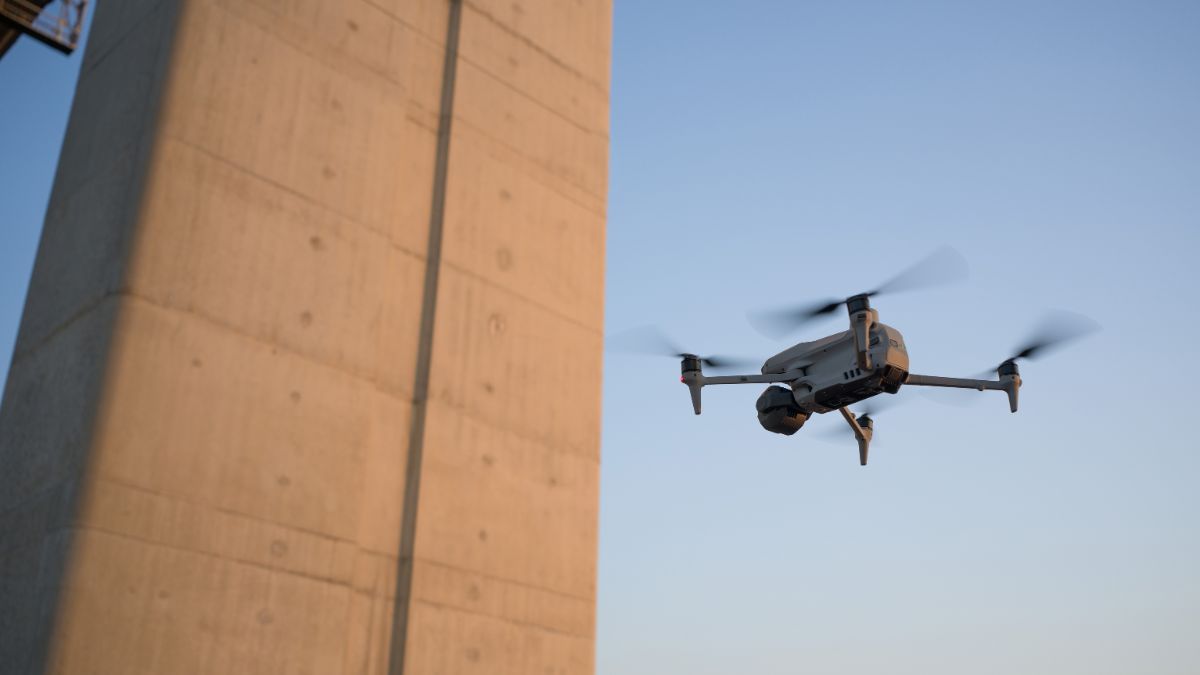
Step 1: Pre-Flight Planning and Site Assessment
Mission planning starts with what the deliverable actually needs to resolve, since that decides flight altitude and, in turn, ground sampling distance (GSD), the real-world size each pixel represents. A lower altitude gives a tighter GSD for fine detail; a higher altitude covers more ground per flight at the cost of resolution. Grid missions typically run 70 to 85% side and front overlap, enough redundancy to keep the finished model contiguous without gaps, though a large site with limited battery count sometimes drops that toward 60% as a practical minimum. Site assessment at this stage also covers airspace restrictions, obstacles and any access constraints that shape where the aircraft can actually fly.
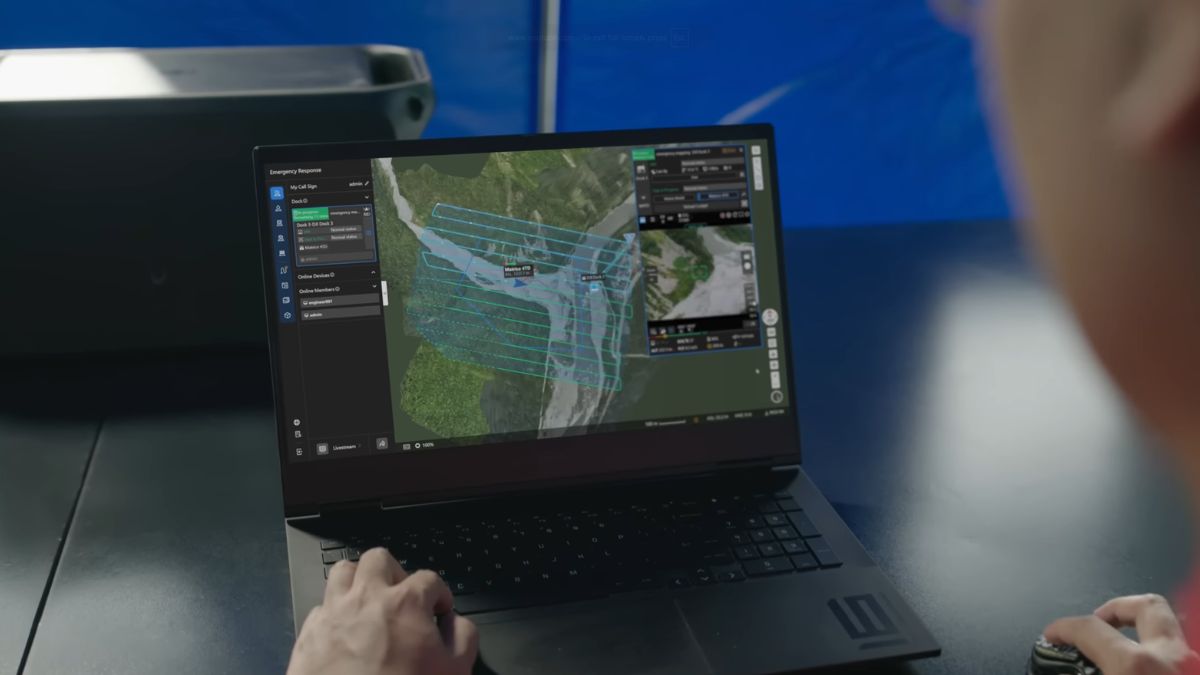

Step 2: Placing Ground Control
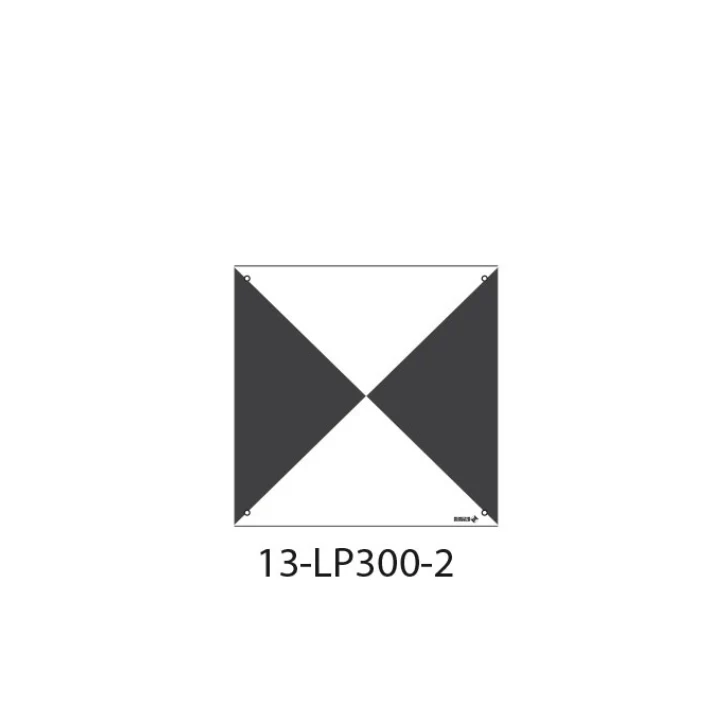
Where the deliverable needs absolute accuracy or independent verification, ground control points (GCPs) go down before the survey flight, not after. Each point is a physical, high-contrast target whose coordinate is surveyed independently of the aircraft doing the mapping flight, using a separate GNSS receiver held to FIX. Some points are held back entirely as checkpoints rather than fed into processing, so the finished model can be checked against data it never saw. Our What Are Ground Control Points? and How to Survey Ground Control Points guides cover this step in full; a repeat mission over the same monumented site with no third-party sign-off can sometimes skip this step and rely on RTK alone.
Step 3: Flying the Mission
The aircraft flies the planned grid (or, for a full 3D model, an oblique pattern capturing multiple angles rather than straight down) while holding RTK FIX throughout, since each captured image is geotagged at the moment of capture. A dropped or degraded correction during the flight introduces positional error that no amount of processing afterward fully corrects. Camera settings matter here too, a fixed shutter speed rather than full auto keeps exposure consistent across the hundreds of images a mapping mission captures, and a mechanical shutter avoids the rolling shutter distortion an electronic-only shutter introduces on a moving aircraft.
Step 4: Capturing the Underlying Data
Photogrammetry captures overlapping photographs, reconstructing geometry from how the same point shifts across multiple images. LiDAR fires laser pulses and measures their return time directly, building a point cloud without needing to interpret an image at all, the only reliable way to see through vegetation or canopy a camera can't. Both methods geotag their raw data against the aircraft's live RTK position as it's captured. Our Photogrammetry vs LiDAR for Drone Mapping guide covers the full comparison and where each one's accuracy actually breaks down.
Step 5: Processing the Data
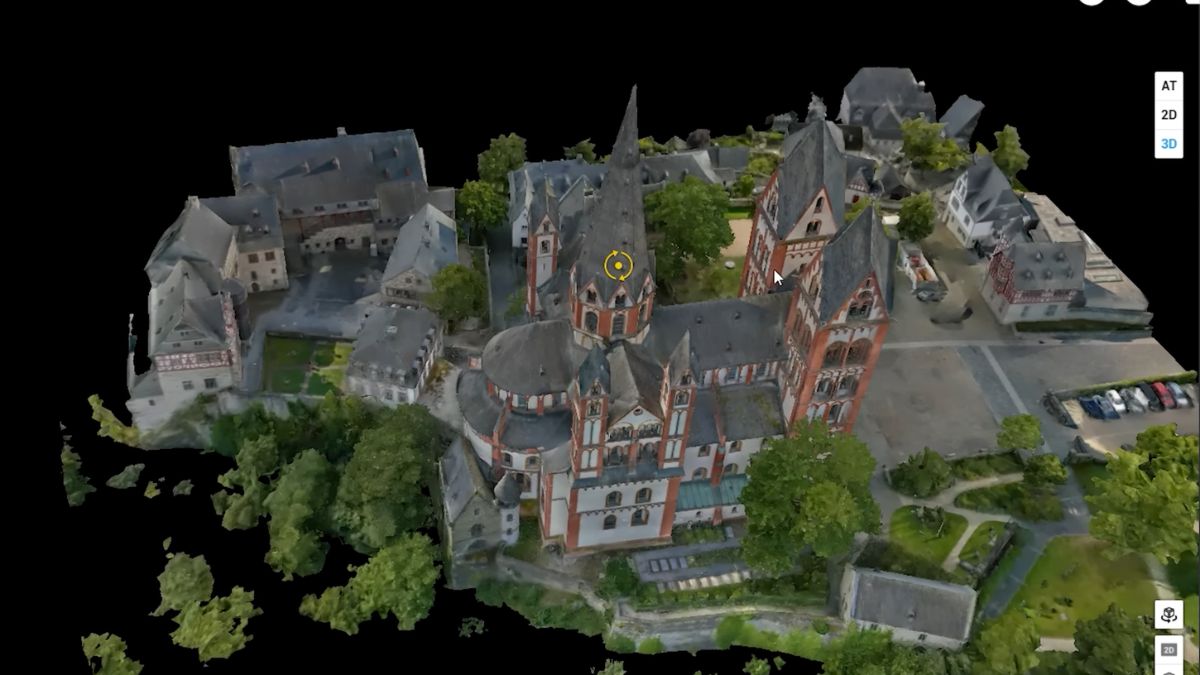
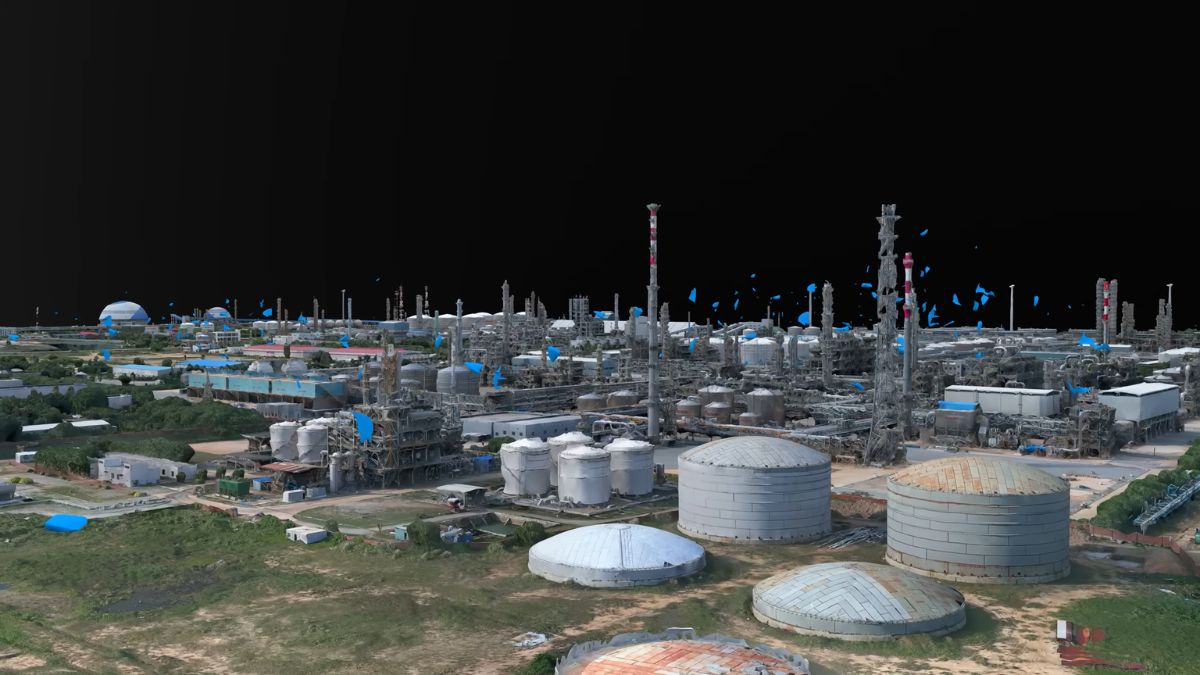
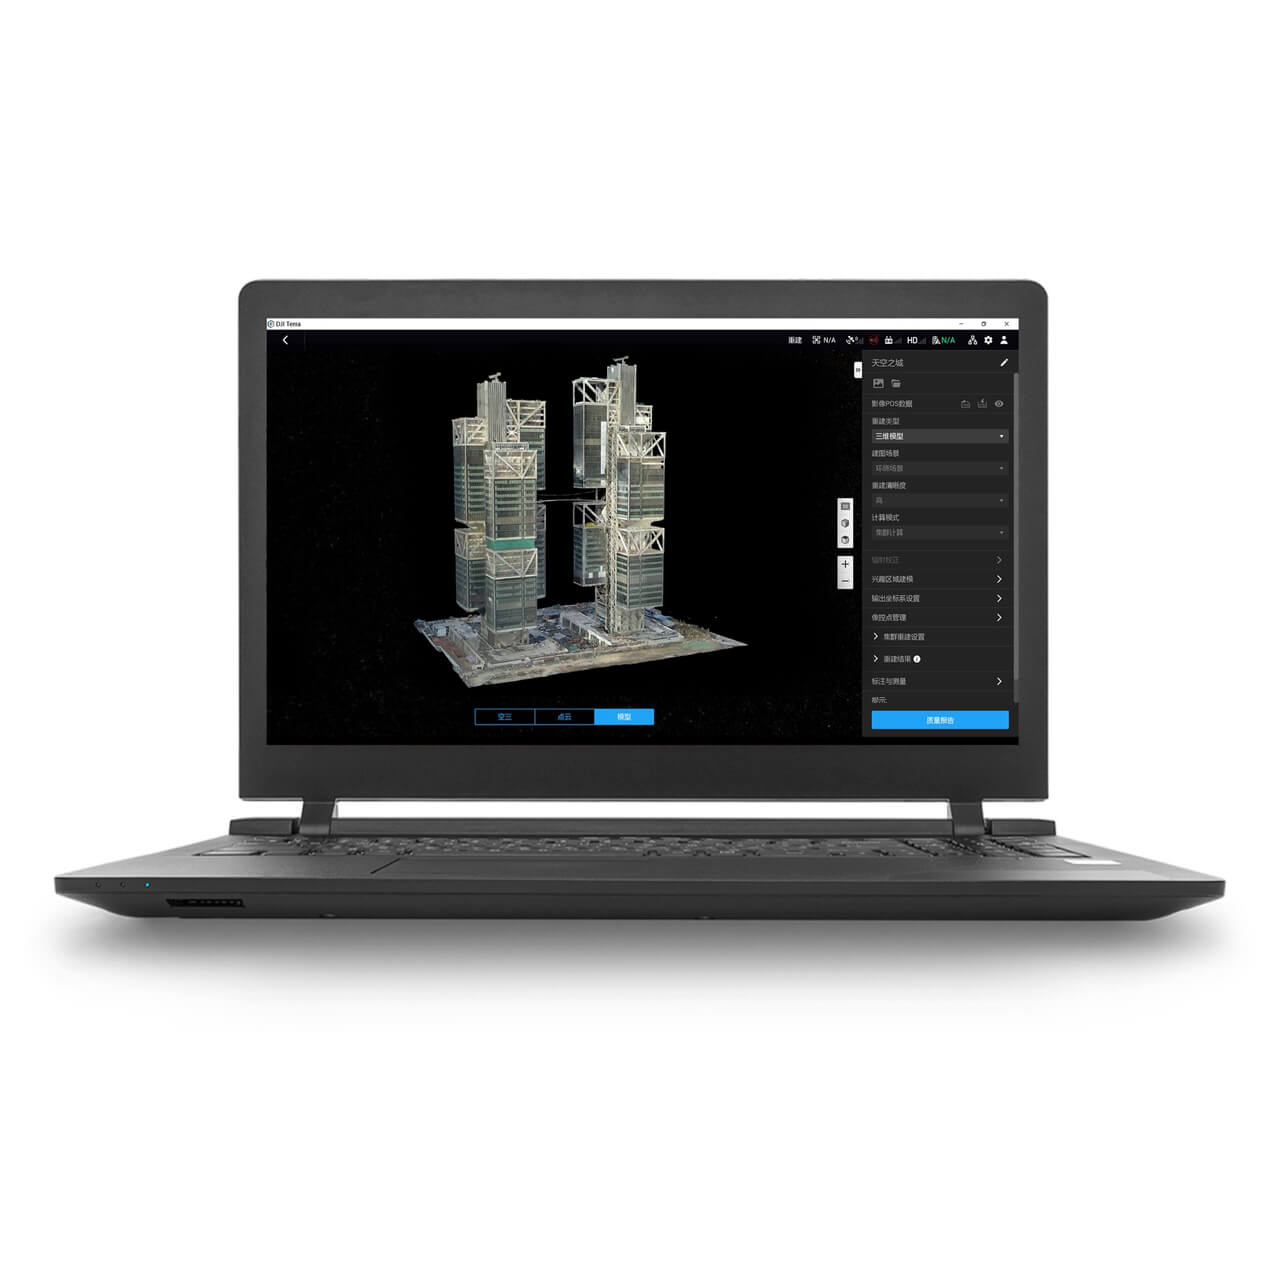
Raw images or LiDAR returns still need processing software to become a usable output. DJI Terra takes the captured dataset, aligns and blends overlapping frames or point returns, and corrects for camera perspective and terrain variation as it goes, the step that turns a folder of individual captures into a single, georeferenced deliverable. Ground control points, if surveyed, are matched into the dataset at this stage too, anchoring the model to real-world coordinates rather than only the aircraft's own recorded positions. The same processed dataset typically yields several outputs together: an orthomosaic, a Digital Surface Model, a Digital Terrain Model, a point cloud and a textured 3D mesh, selected according to what the job calls for.
Step 6: Verifying Accuracy
A finished model is only as trustworthy as the check run against it. A control point's own residual measures how well the software fitted the data it was given, not genuine accuracy elsewhere on site, since the processing actively worked to minimise exactly that number. Checkpoints, held back from processing entirely, are what give an honest RMSE figure against data the model never saw. Our Ground Control Points vs Checkpoints guide covers why that distinction matters and how the resulting accuracy figure actually gets calculated and reported.
Step 7: Delivering the Output
The verified dataset gets exported in whatever format the job needs, an orthomosaic and contour set for a topographic survey, a point cloud and volumetric report for construction earthworks, or a georeferenced spreadsheet of coordinates for a specific engineering deliverable. DJI Terra isn't the only processing route to that final export; Pix4D, DroneDeploy and other third-party platforms cover similar ground with their own workflow strengths. Our DJI Terra vs Pix4D and DJI Terra vs DroneDeploy guides cover how they compare for a team choosing between them.
What This Means in the Field
The steps that go wrong quietly, a rushed ground control survey, a dropped RTK correction mid-flight, reporting a control point's own residual as the model's real accuracy, are the ones that don't show up until a client or third party checks the deliverable against something the surveyor didn't control. Planning altitude and overlap from the actual GSD needed, holding FIX throughout the flight, and verifying against genuinely independent checkpoints are what separate a drone survey that holds up from one that only looks right on screen.

DJI Matrice 4E RTK Bundle
The Ultimate Mapping Package · D-RTK 3, Tripod & Four Batteries Included
 Free Gifts Included
Goecke Ground Control Point - 13-LP300-2
Improves Drone Survey Accuracy · Large, Easy-to-Spot Format
Common Questions
Not always. RTK alone is often sufficient for repeat comparisons and internal monitoring on the same site; a deliverable needing absolute accuracy or independent verification needs real ground control surveyed separately from the aircraft.
Every image captured while the correction is degraded carries that positional error into the finished model, since each photo is geotagged at the moment of capture. Ground control can correct for this afterward to some degree, but a solid RTK link throughout the flight is the better starting point.
Yes, a single processed dataset typically yields an orthomosaic, DSM, DTM, point cloud and mesh together, selected according to what the deliverable actually needs, without reflying the site.
A control point's residual reflects how well the processing fitted the data it was given, not genuine accuracy elsewhere. A checkpoint, held back entirely from processing, tests the model against a coordinate it never saw.
No. LiDAR is the more reliable method wherever vegetation or canopy would block a camera from seeing the true ground level, though both methods follow the same overall planning, capture, processing and verification sequence.